How to Automate Net Promoter Score Surveys with Drip
If you use Drip for marketing automation, this article will teach you how to automate Net Promoter Score (NPS) surveys in just a few simple steps.
Best of all, I’ve included a Drip-ready NPS email template that you can drop right into your account.
What is NPS?
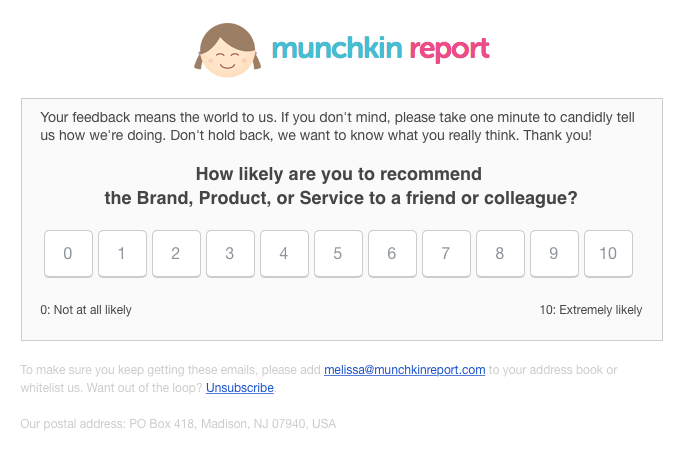
Net Promoter Score is a survey designed to help you measure customer loyalty.
You ask one simple question like “How likely are you to recommend Drip to a friend or colleague?” and recipients can respond on a scale of 0 (not likely) to 10 (extremely likely).
Responders are grouped into three buckets based on the score they gave:
- 0-6 are considered Detractors—unhappy customers who are likely to churn in the next 30-90 days.
- 7-8 are considered Neutrals—no strong feelings one way or the other.
- 9-10 are considered Promoters—your super fans who are eager to help spread the word.
A high overall score indicates strong customer loyalty. NPS can range from –100 to +100, and is calculated as % of Promoters – % of Detractors.
Don’t be discouraged if your initial survey produces a low score. The important thing is that you use the feedback to make improvements. You want your NPS to trend upwards with each survey.
Let’s get into the setup.
Step 1: Create an NPS Feedback form
Go to Forms –> New Opt-in Form and create your NPS Feedback form. This is going to be the form people see after they give their score by clicking a link in the email you send.
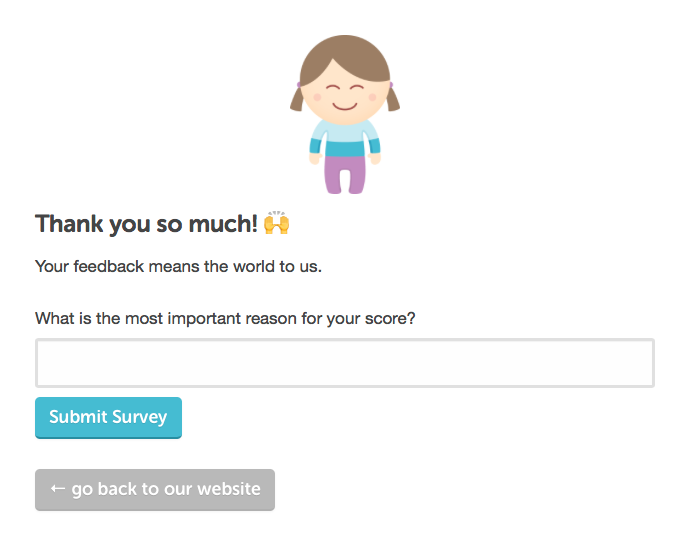
Give your form a headline, description, and button text that make sense.
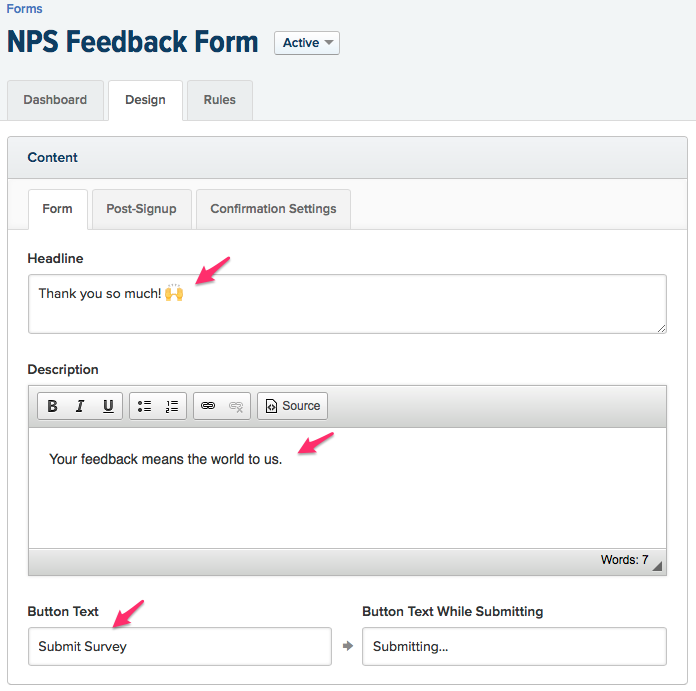
You’ll also want to click on the Post-Signup tab and change the “thank you” headline and message there (or redirect to a custom URL).
Lastly, add a custom field to the form that will capture the reason behind the score.
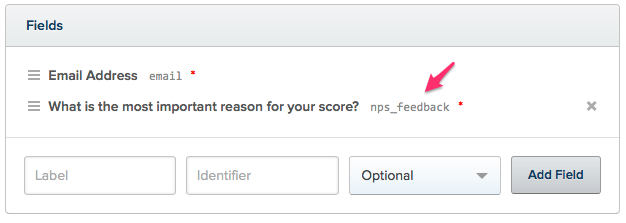
Note: in Drip you don’t have to create custom fields in advance. You can just add new custom fields to forms and they’ll be present for any subscriber who submits that form. Sweet.
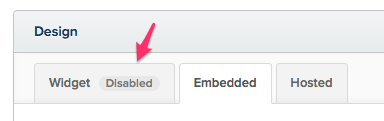
Step 2: Decide where to display your form
You have a few display options with Drip forms: Widget, Embedded, or Hosted. The best options for this project are Embedded and Hosted. I wouldn’t use the Widget for this use case, best disable it:
Let’s discuss the preferred options.
Use the Drip hosted form page
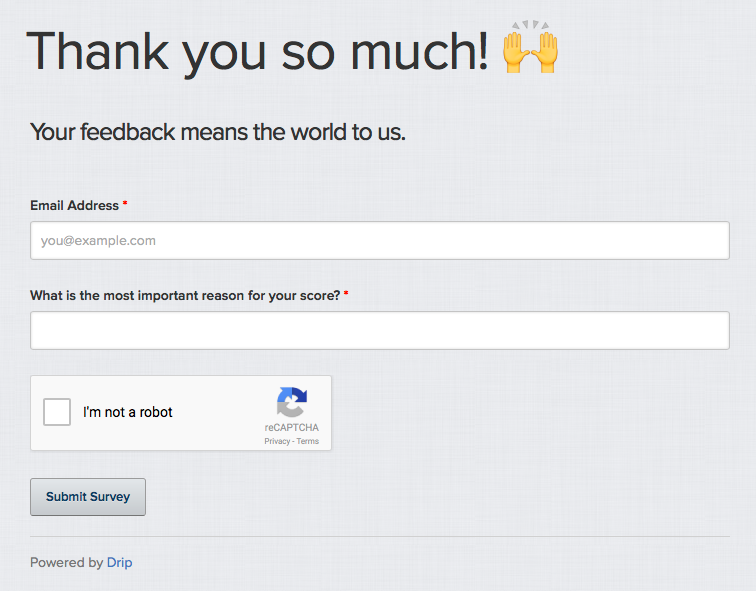
If you don’t want to set up custom HTML page to embed your form in, you can just use Drip’s hosted page. In the Design section of your NPS Feedback form, click on the Hosted tab. You’ll see the URL to your hosted form, which lives on getdrip.com.
Here’s what mine looks like:
https://www.getdrip.com/forms/51406256/submissions/new
It looks pretty good! If this option suits you, skip to step 3, but there are 2 minor drawbacks to the hosted form that you should contemplate:
- The page is hosted on getdrip.com instead of your own domain
- You can’t hide or pre-populate the email field
Drawback #2 results in bad UX. The person just clicked through from an email you sent them and now you’re asking them to enter their email. How dare we?
Embed the form on your own site
You can embed a Drip form anywhere! I have a static HTML site, but you might be running on WordPress or Squarespace or whatever. Makes no matter.
- Create a new page dedicated to hosting your NPS feedback form.
- Copy your embed code from the Embedded tab in Drip and paste it into your page.
You can modify the email field and make it hidden. Change this:
<div>
    <label for="fields[email]">Email Address</label><br />
    <input type="email" name="fields[email]" value="" />
</div>
To this:
<input id="drip_email" type="hidden" name="fields[email]" value="" />
(Notice that I added id="drip_email" to the email input field and changed type to hidden.)
Now add a bit of JavaScript (with jQuery) to the page to programmatically set the hidden email address field to the value that Drip sent in the query string:
<script>
  function getParameterByName(name) {
    name = name.replace(/[\[]/, "\\[").replace(/[\]]/, "\\]");
    var regex = new RegExp("[\\?&]" + name + "=([^&#]*)"),
      results = regex.exec(location.search);
    return results === null ? "" : decodeURIComponent(results[1].replace(/\+/g, " "));
  }

  // Get the email address the user has entered
  email = getParameterByName('drip_email');
  // Set the hidden email field
  $(function() {
    $('#drip_email').attr('value', email);
  });
</script>
Take a look at my custom form page. A little extra work, but I like it better.
https://www.munchkinreport.com/nps
Step 3: Create your survey email
I built a Drip-ready NPS email template for you.
Click here to grab the template HTML file
There are only 2 quick things you’ll need to find and replace before it’s good to go. Open the template in your favorite text editor do the following:
- Search for https://www.munchkinreport.com/img/munchkin-logo.png and replace with your a link to your logo
- Search for https://www.munchkinreport.com/nps and replace with your NPS form page URL
I hope the Drip team (Hi, Rob and Derek!) will create custom Liquid tags for things like base URL, logo, default font color, etc. That’d make building and sharing templates easier. But a little find and replace never hurt anyone, right?
Now add the template to your Drip account:
- Go to Settings –> Templates
- Click New Template
- Copy and paste in the HTML code
- Name it “Net Promoter Score” or similar
- Save your template
A look inside the template (for the geeks)
If you inspect the template carefully you’ll see that the links on each score button have some special query string parameters:
www.munchkinreport.com/nps?drip_email={{subscriber.email}}&score=6&dst=Detractor
First, we pass the subscriber’s email so we don’t have to ask for it on the landing page.
Then we pass the score for obvious reasons (though we’re not actually using it; more on this later).
And finally we pass the NPS bucket in a special parameter called dst which automatically tags the subscriber. I love this little feature (documented on the JavaScript API page).
This means we don’t have to have separate pages for each bucket nor do we have to build a workflow to set a tag or custom field based on the bucket.
Step 4: Send your NPS survey email
When you build your campaign or broadcast email in Drip, the text you enter into the body of the email in Drip will appear above the “How likely are you…” question.
You don’t have to do anything special at this point. All of the magic is baked into the template.
You have to decide when it makes sense to send your NPS survey email. You can send it as a manual broadcast to a Saved Segment on a specific date to canvas a bunch of customers at once, or you can trigger your NPS survey via a workflow whenever a certain interaction occurs—e.g., resolving a customer service ticket or hitting a product usage milestone.
Step 6: Calculate your NPS score
You can calculate your all-time NPS score by going to Reports –> Tags and counting up the number of subscribers for each tag: Promoter, Detractor, and Neutral. That’ll give you the bucket totals.
- Take the total number of Promoters
- Subtract the total number of Detractors
- Divide by the total number of responders
- Multiply by 100
For example:
- Promoters = 70
- Detractors = 10
- Neutrals = 20
NPS = ((70-10)/100)*100)
NPS = 60
Re-measuring NPS
Let’s say you sent an NPS survey to a cohort of subscribers in February and after adding a bunch of new features, you want to re-measure NPS in October. You’ll run into a slight problem. If Jane was tagged as a Detractor in February and then a Promoter in October, she’ll be counted twice. Tagging her as a Promoter doesn’t automatically remove her previous Detractor tag. Ruh roh.
A solution: before you re-survey a group of subscribers, run a bulk operation to remove any NPS-related tag.
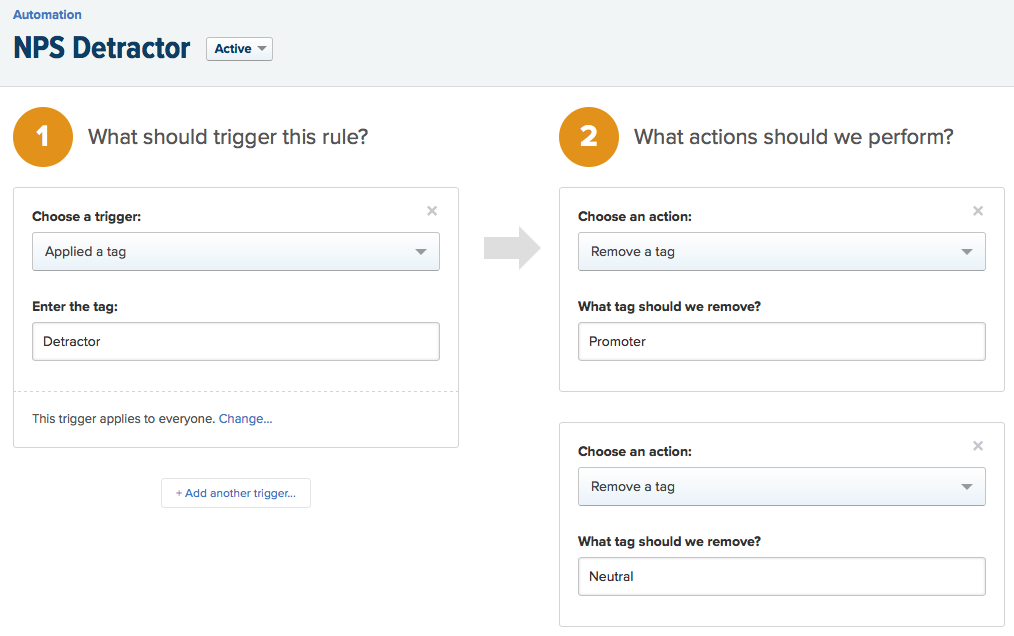
A much better solution: create 3 simple automation rules that fire when a new NPS tag is applied and will remove the other 2 tags.
For example, when someone is tagged a Detractor, we should remove the Promoter and Neutral tags (if they exist):
Of course if we were using a custom field to store the NPS bucket we wouldn’t have this problem! You’re welcome to use that approach instead, but I prefer the simplicity of using tags.
What about tracking specific scores?
Notice that we passed the score value to our page, but never used it? That’s because the specific score doesn’t really matter. All that matters is the bucket. Of course, if you want to add some code to your landing page that grabs the score from the URL and shoves into a custom field or whatever, be my guest! 🤘
If you enjoyed this post and are not yet using Drip for marketing automation, give it a try! They have a $1 plan. Please consider using my affiliate link to sign up.